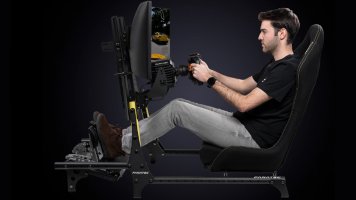
Nice detailed photos, the new angled parts help give these rigs a bit more style, looks good. Perhaps influenced by what Next Level or Sabelt rigs have done recently too?
Enjoying your shared progress including the little niggles you find or come across. Also, might be interesting to see if you configure each seat/pedals differently at the start just for 1-1 comparisons to see what positioning you think is best? I was a bit surprised you did not consider what I show below, with one of the rigs, to let you determine via 2x rigs more configuration setup options. With the added benefit most wont have, with instant back to back testing being possible to find your own ultimate preference?
I have a dilema in that none of the off the shelf options are ideal as need to make a custom sized rig, due to desire in applying motorised systems for seat/pedals/wheeldeck.
Did pefer this same option you went with but was surprised that the TR160 MK4 is the longest option from the popular brands, @50mm more in length at 1400mm. For me that mattered, or I would likely of ordered the same rig as a chassis to modify.
I did however recently order the the
Simlab Inverted Pedal Rack as this in my view is the best/strongest one made by
any of the sim rig companies. If wondering why, other than being an option some prefer. It brings certain benefits with tactile installations over typical pedal installs too. With inverted setups, we can better apply/control the direct vibrations that go into the pedal stems/plates. Also different or specific (stereo effects) to the foot rest section.
Some are happy with using only ABS and TC with slip and perhaps engine as effects. It certainly adds to the interaction and that may be enough for most people.
Yet continued experimentation has shown me, we can take the immersion much further, regards the feel of the car (g-forces/speed/steering/wheelslip/suspension) sensations with a different effects/approach to the norm used by most on pedals. *The design of this particular product, is more ideal for additional tactile units to be installed, that can deliver more effects sensations like mentioned, including large pro-tactile hardware if needed.
If you are considering tactile at a later time, or discover you like what it brings, then it might perhaps be worth considereing to standard pedal deck? No worries either way, would have liked to of seen impressions you had between standard or inverted pedals too, but will share it here, as it is hard to find videos/reviews on this product or peoples rigs that already have it.

 ️
️  Well, maybe if you are in the US and use mph and not kph.
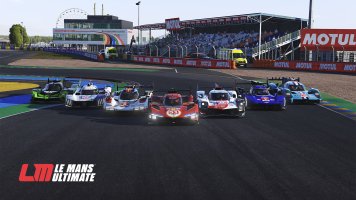


 2024 Formula One Miami Grand PrixFrom new liveries to groundbreaking team personal changes, here's everything that's gone down in...
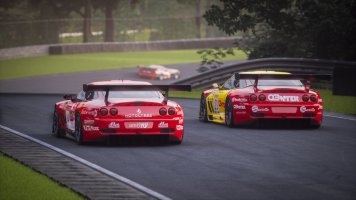
 2003 NASCAR Cup Cars Scanned For iRacingDale Earnhardt Jr. Has been at it again, teasing future iRacing content that will bring those...
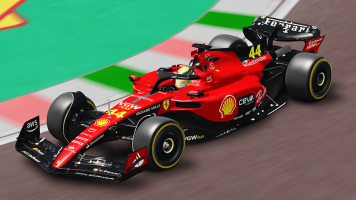
 Automobilista 2: 2024 F1 Liveries For New F-Ultimate Gen 2 CompleteJust in time for the 2024 Miami Grand Prix, the current season's liveries for the reworked...